Building a model kit is more than just snapping parts together. For me, it’s about experiencing a real piece of history and watching it come to life on the workbench. The M22 Locust was a light airborne tank from World War II, and putting together a model of this tank gives me a close-up look at the details and engineering that made it unique.
If you’re searching for a model that stands out from the bigger tanks, or just want an enjoyable and rewarding build, the M22 Locust is worth considering. This guide will walk you through my experience, from choosing the right kit to tips for building and painting, and how to really show off your finished Locust. Plus, I’ll share a few pieces of history that connect this unique tank to broader moments in World War II, giving you even more reasons to dig into this build.
Table of Contents
Understanding the M22 Locust: What Makes It Special?
The M22 Locust, also known as the Airborne Tank, was designed so it could be transported by aircraft and deployed quickly for airborne operations. Unlike many heavier tanks, its smaller frame and lighter weight meant it could be dropped straight into battle alongside paratroopers. This made it a rare but fascinating choice for modelers who want to build something different from the more common Sherman or Tiger tanks.
When I build a Locust, I get to enjoy the details of its compact shape, the suspension system, and its unique turret design. The Locust represents a blend of speed and light armor, which really tells the story of innovation during wartime. If you like models that have an interesting backstory, the M22 doesn’t disappoint. The tank’s use during Operation Varsity — one of history’s largest airborne operations — is a great talking point for history buffs and adds an extra dimension when displaying your model.
What to Look For in an M22 Locust Model Kit
- Check the scale (common sizes are 1/35 and 1/72). Bigger scales offer more intricate detail, while smaller ones are great for quick projects or tight display spaces.
- Look at the quality of the plastic parts, since clean molding and accurate detail are really important for a satisfying build.
- Consider if you want extra features, like photoetched parts or optional decals for different armies. Some kits also have the option to build British or American versions, letting you mix things up even more.
Types of M22 Locust Model Kits: Scales and Options
Manufacturers have released a variety of M22 Locust kits over the years. I’ve found two main scales that cover most builders’ preferences:
- 1/35 scale. My go-to when I want a model packed with detail. These kits usually have detailed interiors, movable suspension, and a decent amount of aftermarket support for those who like to upgrade their builds.
- 1/72 scale. Quicker to build and great for collectors who display lots of vehicles in a small space. Even in the smaller size, there’s enough detail to be satisfying.
Brands like Bronco and Flyhawk have made their mark with impressive M22 Locust kits. From my experience, Bronco’s offering in 1/35 scale is a top choice with wellfitting parts and clear instructions. For a pocket-sized but accurate build, Flyhawk’s 1/72 kit is one I’ve enjoyed too. Careful research helps buyers make informed decisions, especially when choosing between brands or deciding how much detail they want to tackle. Some newer kits even include photoetched parts and figures, letting you really set the scene.
Building the M22 Locust Model Kit: My Practical Steps
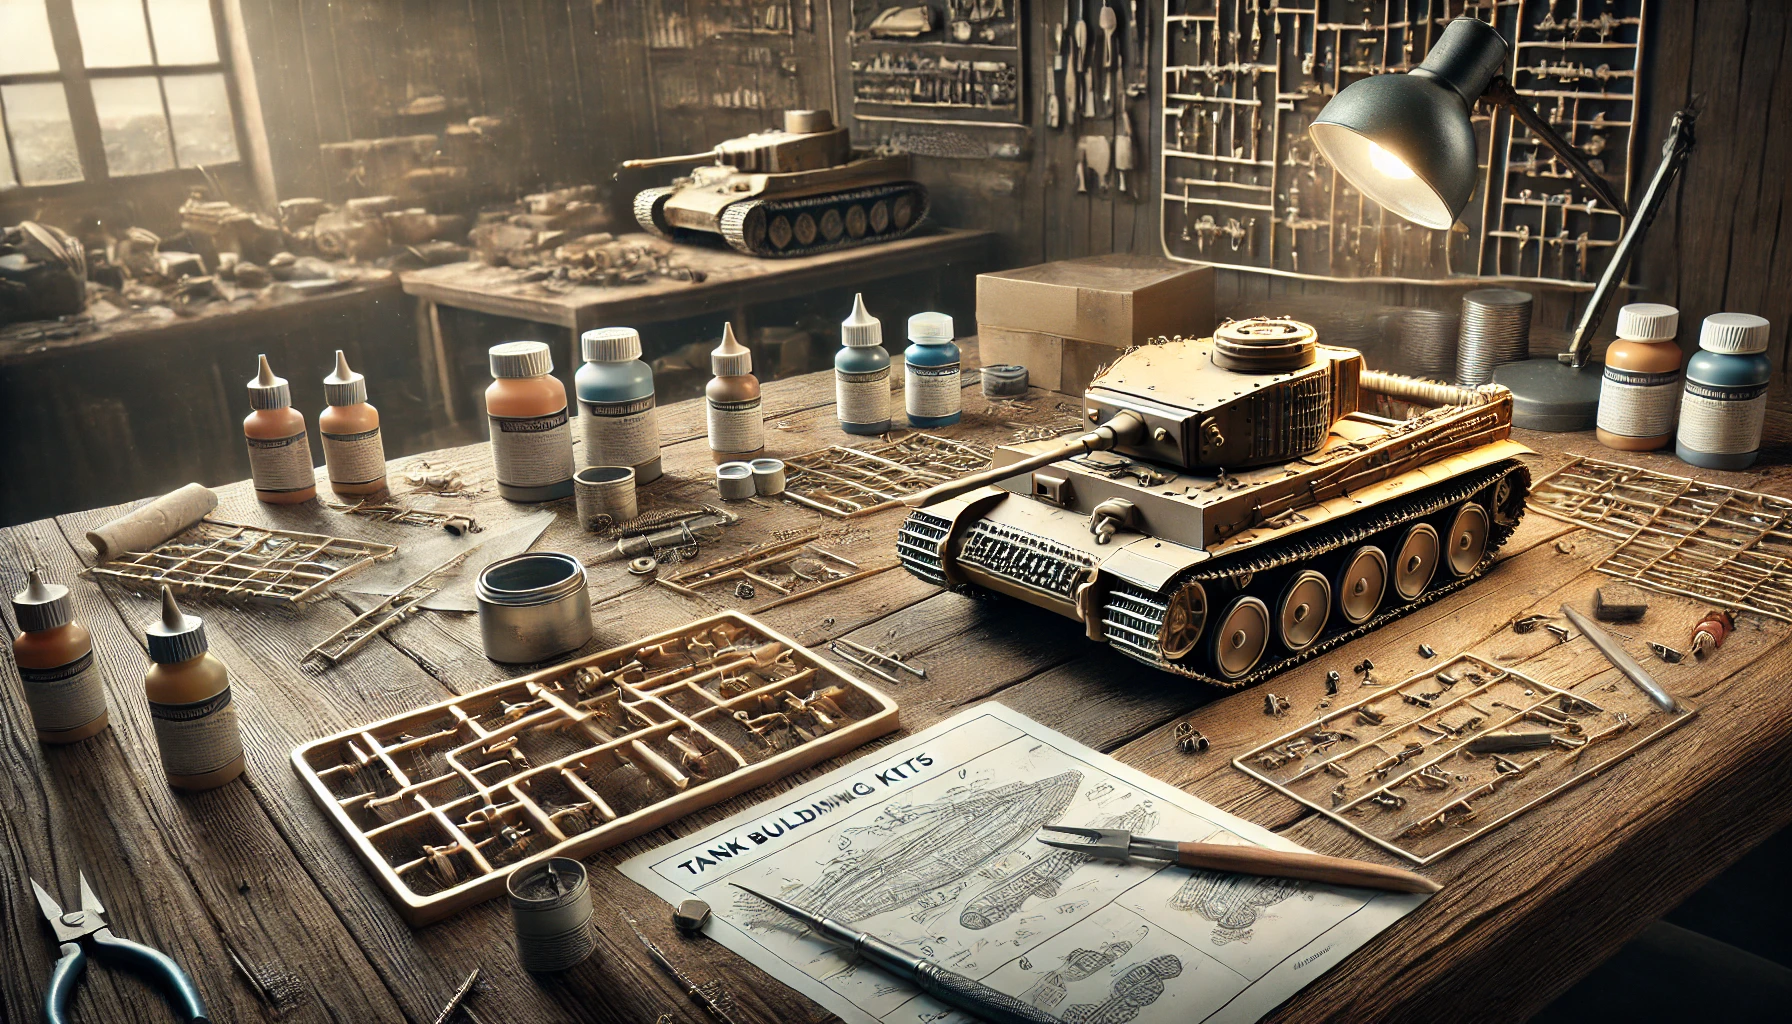
Starting an M22 Locust kit usually begins with the lower hull and running gear. I lay out all the parts and do a quick dry fit to spot any alignment issues before reaching for the glue. Tracks can be a little tricky, especially in 1/72 scale, but patience pays off. I use fine tweezers to help guide tiny links into place without bending or breaking them.
The upper hull and turret assembly are straightforward for most kits. I clean up any mold lines with a sharp hobby knife and carefully glue on the smaller details like hatches, sights, and lights. Some kits offer optional parts for different versions of the Locust, so I double-check instructions before attaching anything permanently.
Essential Tools I Use
- Sharp sprue cutters and sanding sticks for cleaning up parts.
- Liquid cement for plastic, which gives time to adjust pieces before it sets.
- Fine-tipped tweezers for handling small parts.
- A hobby knife for trimming, scraping, or cutting. Even a simple tool can be a lifesaver at tricky moments.
With good tools and a little patience, building an M22 Locust is relaxing and rewarding. I take my time dryfitting assemblies and test the moving parts, like the turret, to make sure nothing is too tight after painting.
Painting Your M22 Locust: Bringing Out the Details
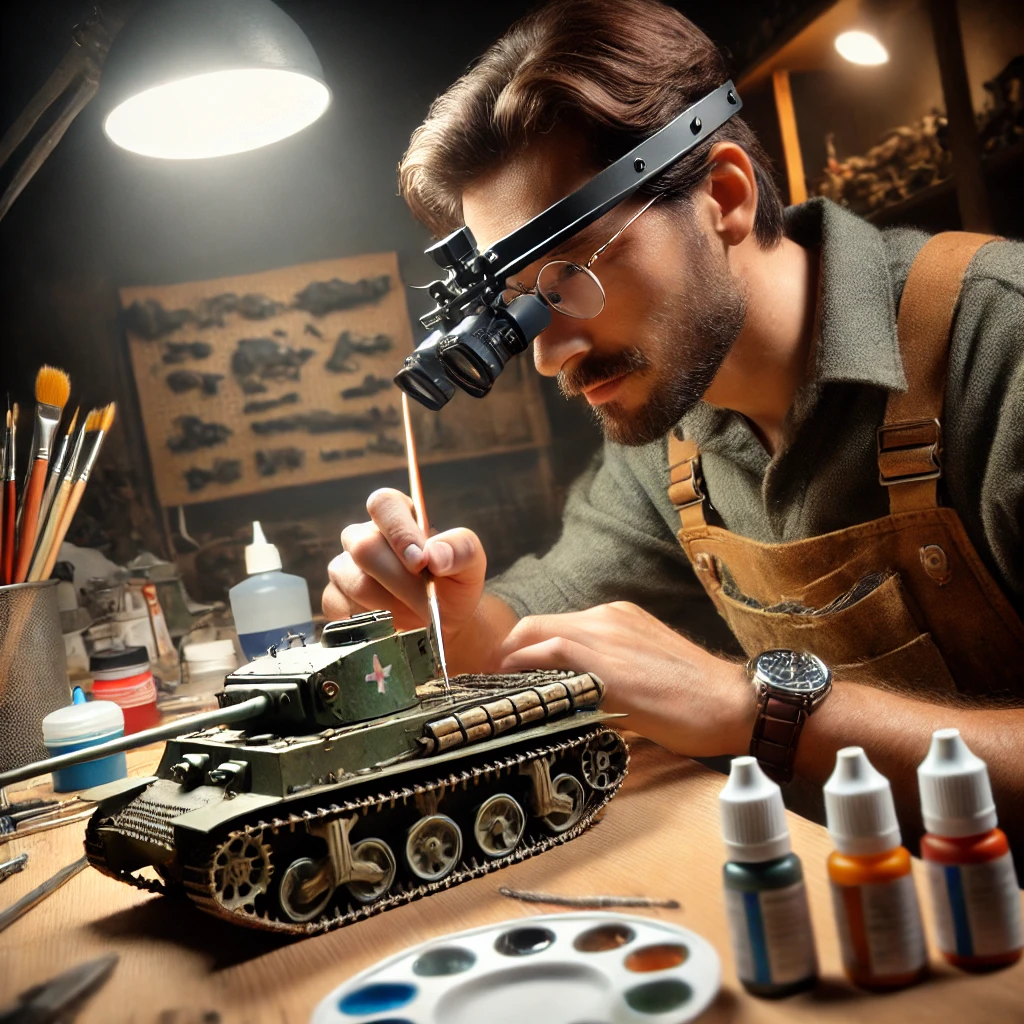
Painting is where the M22 Locust really comes to life for me. I start by washing the assembled model in mild soap and water to remove any dust or oils. This helps the paint stick better and gives me a clean finish.
Paint Scheme Tips
- The standard colour for most Locust tanks was olive drab, but I sometimes add my own twist with subtle weathering or extra detail painting for the tools and tracks.
- Use thin layers to keep details crisp, whether I’m brush painting or using an airbrush.
- I like to highlight raised edges with a lighter shade to create a realistic, worn look. This helps the tiny features on the tank stand out.
- For a battleworn appearance, a little drybrushing with silver or tan on the edges really makes details pop and mirrors genuine field wear.
Decals can be fiddly, so I use a gloss coat before applying them to reduce the chance of bubbles or silvering. Once they’re dry, I seal everything with a matte varnish for a nice, authentic finish. Some modelers also frame the decals with a light weathering pass, blending them into the paintwork so they never look out of place.
Adding Realism: Weathering and Accessories
One part of modelling I really enjoy is adding a touch of realism with simple weathering techniques. Even if you’re new to weathering, you can make your model look more lifelike with a few easy steps.
- I use washes of dark brown or black paint thinned with water to bring out the details in the panel lines and grills. Letting the wash settle into corners mimics the grime found on working tanks.
- Pastels or weathering powders simulate mud and dust; just dab some along the tracks and lower hull. For even more depth, a mix of brown and grey powders gives the sense of dried mud from different terrains.
- Stretched sprue painted silver makes convincing radio antennas. These not only look good but add a delicate realism to the final look.
If I want to go the extra mile, I’ll add a few accessories like stowage packs or a machine gun in the turret to give my M22 Locust that “just off the battlefield” look. Small details like tiny painted warning signs, realistic tool straps, or even simulated fuel stains can give your tank a backstory all its own.
Displaying and Storing the Finished Model
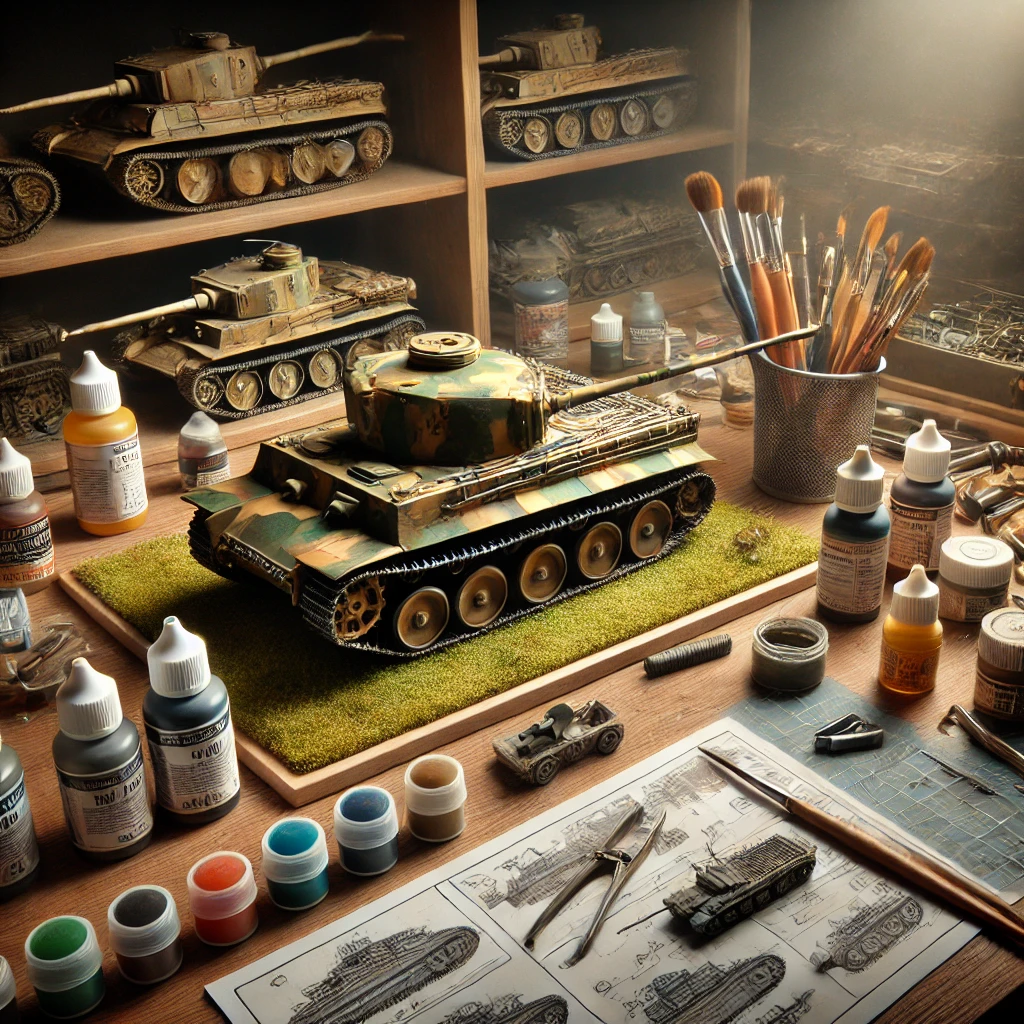
After spending hours on assembly and painting, I always find a good way to display my M22 Locust. A small wooden or plastic base works well for protection and presentation. Sometimes, I add a bit of scenic groundwork like grass, sand, or rubble for extra effect. You can combine several tanks for a mini diorama or pair the Locust with other vehicles and figures to tell a dynamic story.
For storage, I keep my finished Locust models in a dustproof cabinet or box, away from direct sunlight to prevent fading. This helps keep them looking sharp for years. If you need to move your models, take a little extra care to cushion the turret and any added details before packing them in their box, especially for longdistance moves or shows.
The Joy (and Challenge) of the M22 Locust Model Kit
Building the M22 Locust model gave me an appreciation for the lesserkown vehicles of World War II. Whether you’re a beginner looking for a manageable build or a veteran modeler chasing something unique, the Locust delivers both fun and a bit of a challenge. The key is to take your time, enjoy each step, and not worry if things aren’t perfect the first time around. Every build helps you learn something new, and in the end, you get a great little piece of history to display or share with fellow enthusiasts. So gather your tools, find the right kit, and let your creativity lead the way — after all, it’s all about making your own mark on this iconic, compact tank.
You might be interested in exploring the fascinating history behind the M22 Locust itself. Speaking of light tanks, check out the Light tank article for an overview of their development and uses in warfare. Furthermore, if you want to dive deeper into World War II, the World War II entry provides valuable context on the events and innovations of that era. Plus, understanding its engineering can be enhanced by visiting the Tank article, which details the evolution of tank design and technology. Each of these resources adds depth to your modelling experience, bringing history to life right on your workbench.


